
You’ve got one shot at Red Rock Canyon, and you don’t want to waste it circling a parking lot or picking the wrong trail for your fitness level. Figuring out how to hike Red Rock Canyon takes more planning than most visitors expect, between timed entry reservations, a scenic drive that fills up fast, and trail options ranging from easy strolls to steep scrambles up sandstone. Get any of that wrong and you’ll burn half a day figuring out logistics instead of actually hiking.
This guide walks you through exactly what you need before you lace up your boots: how to book your entry pass, which trailheads match your time and skill level, what to pack for desert conditions, and when to arrive to beat both the heat and the crowds. We’ll cover short easy hikes near the visitor center as well as longer routes into the canyons for people who want a real workout.
We’ve guided thousands of visitors through this exact park at Another Side Tours, so we know where first-timers get stuck and what actually matters once you’re on the trail. Whether you’re planning a solo trip or thinking about a guided option instead, this breakdown gives you a clear, step-by-step path to a good day at Red Rock Canyon.
What to know before you hike Red Rock Canyon
Red Rock Canyon National Conservation Area sits about 17 miles west of the Las Vegas Strip, tucked against the Spring Mountains. The Bureau of Land Management runs the park, and it covers roughly 197,000 acres of red and gray sandstone, desert scrub, and canyons that feel nothing like the casino floor a short drive away. Before you plan your route, you need to understand how the park splits hiking access from vehicle access, because those two things work very differently.
Location, size, and getting there
Getting to the park from the Strip takes about 30 to 45 minutes by car depending on traffic, and there’s no public transit that gets you all the way to the trailheads. Most visitors drive themselves or book a guided tour that handles transportation and timing. Once you arrive, the park entrance funnels every vehicle through a single checkpoint near the visitor center, so plan for a short wait even with a reservation in hand.
Best time of year and time of day
Summer temperatures in Red Rock Canyon regularly hit 100°F or higher by late morning, and there’s almost no shade on most trails. Fall through spring (October through April) gives you cooler daytime highs, usually between 55°F and 75°F, and that’s when most experienced hikers plan their trips. If you’re stuck visiting in summer, start your hike before 8 a.m. and finish before the heat peaks around noon.
Hike Red Rock Canyon in the early morning, no matter the season, and you’ll beat both the crowds and the heat.
Entry fees and what they cover
The park charges a vehicle entrance fee for the 13-mile Scenic Drive, separate from any hiking itself. Here’s how the costs break down as of this writing:
| Pass Type | Cost | Covers |
|---|---|---|
| Single vehicle (up to 3 days) | $20 | Scenic Drive access for one car |
| Motorcycle | $15 | Scenic Drive access |
| Annual Red Rock pass | $40 | Unlimited Scenic Drive visits for one year |
| America the Beautiful annual pass | $80 | Access to Red Rock and other federal sites |
Check current pricing on the National Park Service fee page or the BLM Red Rock Canyon site before you go, since fees do get adjusted periodically.
Hiking trails versus the Scenic Drive
Here’s the part that trips people up: hiking itself is free, but reaching most trailheads requires driving the Scenic Drive, which requires both the entrance fee and a timed entry reservation during peak season. A handful of trails, like Calico Basin and the trails near the visitor center, sit outside the reservation zone and don’t require booking ahead. Know which category your target trail falls into before you show up, or you’ll find yourself turned away at the gate with a full day of driving wasted.
Step 1. Reserve your timed entry to the Scenic Drive
Before you plan anything else, lock in your timed entry reservation for the Scenic Drive. Red Rock Canyon requires this reservation from roughly early spring through late fall, typically running from 8 a.m. to 5 p.m. during the busiest months. Reservations open up 30 days in advance, and popular time slots for sunrise hikes or cooler morning entries disappear within days, sometimes hours, of that window opening.
How to book your slot
You’ll book through Recreation.gov, the same system the National Park Service uses for other high-demand federal sites. The process itself is straightforward once you know the timing:
- Visit the Recreation.gov Red Rock Canyon page exactly 30 days before your planned visit, if possible.
- Select your entry date and pick a one-hour arrival window (you can stay as long as you like once you’re in).
- Pay the reservation fee, which is separate from the standard vehicle entrance fee you’ll pay at the gate.
- Print or screenshot your confirmation. Cell service inside the park is unreliable, so don’t count on pulling it up live.
Book your Red Rock Canyon timed entry the moment the 30-day window opens, or you’ll be scrambling for leftover slots the night before your trip.
What happens if you miss the window
If every slot is gone for your travel dates, you’ve still got options, but they require adjusting your plan. Arriving before 8 a.m. or after 5 p.m. typically bypasses the reservation requirement entirely, which works well if you’re chasing a sunrise hike anyway. You can also target trails outside the Scenic Drive reservation zone, like the Calico Basin area, since those don’t require timed entry at all. A guided tour company that already holds reservation blocks is another workaround worth considering if your dates are tight and flexibility isn’t an option.
Double-check the season
The reservation requirement isn’t year-round. During winter months, the park sometimes drops the timed entry system altogether and reverts to first-come, first-served access. Always verify current requirements on the BLM Red Rock Canyon site within a week of your trip, since dates and rules shift slightly from year to year based on visitor volume and staffing.
Step 2. Choose the right trail for your fitness level
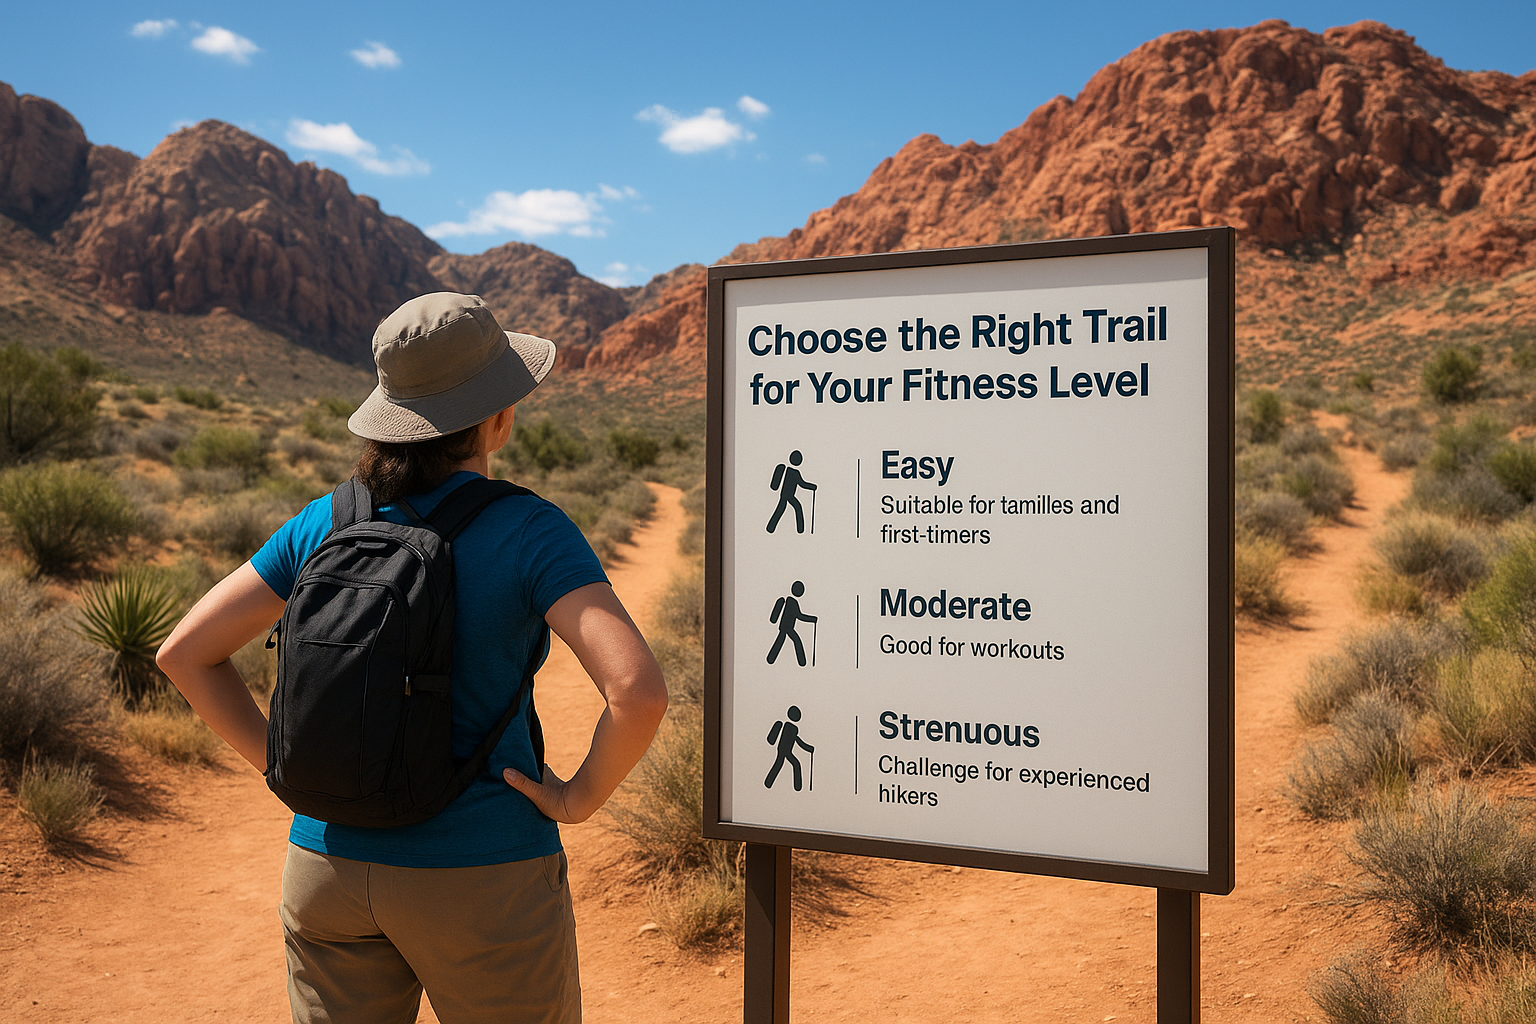
Picking the wrong trail wastes more Red Rock Canyon trips than any parking or reservation problem. Trail difficulty here swings hard, from flat gravel loops near the visitor center to steep scrambles that gain 1,000 feet over loose sandstone. Match your route to your actual fitness level, not the one you wish you had, and you’ll enjoy the hike instead of just surviving it.
Easy hikes for families and first-timers
If you’re short on time or hiking with kids, stick to trails under 2 miles with minimal elevation change. These routes sit close to the Scenic Drive and rarely require technical footing.
- Lost Creek Trail: 0.4 miles round trip, flat, ends at a small seasonal waterfall.
- Calico Basin Trail: 1 mile round trip, sits outside the reservation zone entirely.
- Moenkopi Trail: 2 miles round trip, gentle grade with good views of the sandstone walls.
Moderate hikes for a real workout
Once you’ve got a base level of fitness and a couple hours to spare, these trails give you elevation and scenery without demanding technical climbing skills.
| Trail | Distance | Elevation Gain | Time |
|---|---|---|---|
| Calico Tanks | 3.4 miles round trip | 450 feet | 2-3 hours |
| Ice Box Canyon | 2.6 miles round trip | 500 feet | 2-3 hours |
| Pine Creek Canyon | 3 miles round trip | 400 feet | 2-3 hours |
Match the trail to your fitness level honestly, because Red Rock Canyon offers zero shade and zero shortcuts once you’re committed to a route.
Strenuous hikes for experienced hikers
Turtlehead Peak stands out as the benchmark strenuous hike in the park: 4.6 miles round trip with roughly 2,000 feet of elevation gain, much of it over loose rock without a defined path near the summit. Budget 4 to 5 hours, bring more water than you think you need, and skip this one entirely if you’re not already comfortable with steep, unmarked terrain. La Madre Spring Trail offers a similar challenge at 5.5 miles with less exposure but more distance.
Match trail choice to your group
Traveling with a mixed group of ages and fitness levels complicates trail selection fast. Consider splitting into two groups at a trailhead like Calico Basin, where one group tackles Calico Tanks while another sticks to flatter ground, then regroup at the parking area afterward.
Step 3. Pack the essentials for desert hiking
Red Rock Canyon punishes underprepared hikers fast. There’s no shade on most trails, no water fountains past the visitor center, and cell service drops out the moment you’re a quarter mile into a canyon. Packing right isn’t optional here, it’s the difference between a good hike and a rescue call.
Water and food
Bring more water than you think you’ll need, full stop. The BLM recommends at least one gallon per person for a half-day hike, more if temperatures climb above 80°F. Pack salty snacks too, since sweating out electrolytes without replacing them leads to cramping and nausea partway up a trail like Calico Tanks.
Carry a gallon of water per person minimum, because Red Rock Canyon has no water sources and no cell service to call for help.
Sun protection and clothing
Sandstone reflects heat and glare in ways that surprise most first-timers. A wide-brim hat, sunglasses, and SPF 30 or higher sunscreen belong in your pack every single trip, even in December. Wear lightweight, long-sleeve moisture-wicking layers rather than cotton, since cotton holds sweat and takes forever to dry once the sun drops.
Footwear and gear checklist
Trail runners or hiking boots with real tread matter more here than almost anywhere else in the region, since loose sandstone and gravel cause slips even on "easy" trails. Use this list before you leave the car:
- Sturdy hiking shoes or boots with ankle support for moderate and strenuous trails
- At least 1 gallon of water per person, split across two containers
- Salty snacks or electrolyte packets
- Wide-brim hat, sunglasses, and sunscreen
- Offline map or downloaded GPS route, since cell service fails inside the park
- Small first-aid kit with blister treatment and any personal medication
- Headlamp or flashlight if you’re timing a sunrise or sunset hike
Know your limits before you commit
Once you’re a mile into Ice Box Canyon or Pine Creek, turning back means retracing the exact terrain you just climbed. Learning how to hike Red Rock Canyon safely means checking your water supply and energy level honestly at the halfway point, not pushing toward a summit because you’ve already come this far.
Step 4. Drive the Scenic Loop and find your trailhead
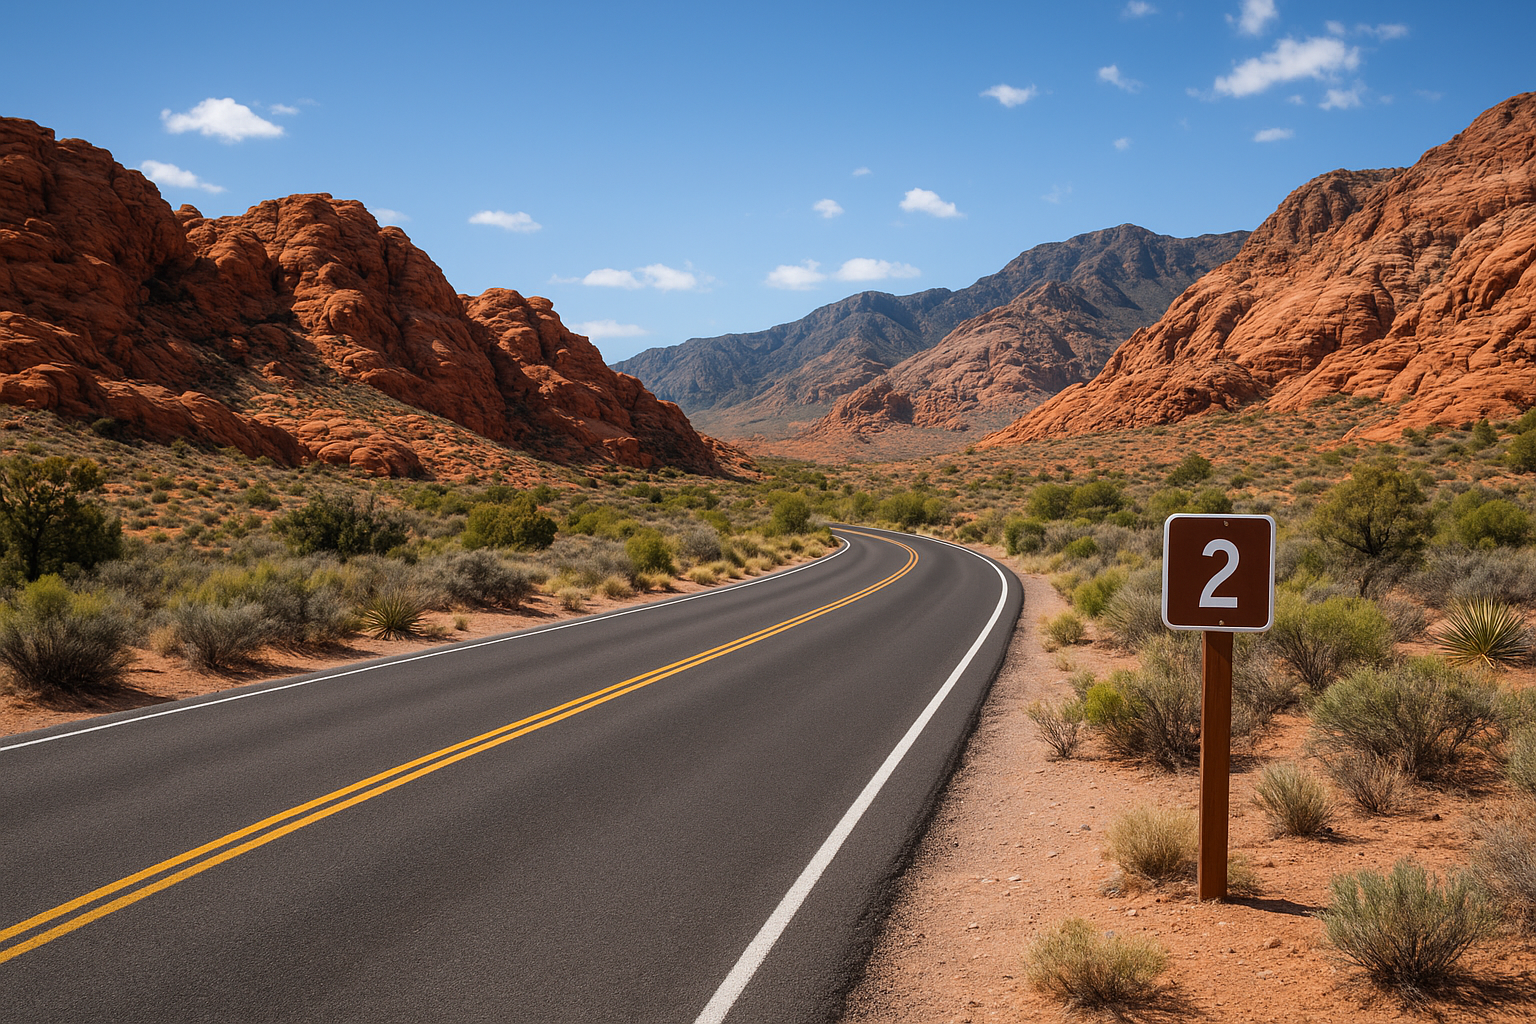
Once you’re through the entrance gate, the Scenic Loop becomes your only route to almost every trailhead in the park. It’s a one-way, 13-mile paved road that winds through the sandstone formations, and you can’t backtrack or take shortcuts once you’re on it. Knowing which mile marker matches your trail before you start driving saves you from missing a turnoff and adding another 13 miles to your day.
Reading the mile markers
Each trailhead sits at a specific point along the loop, and small brown signs mark the pullouts. Use this rundown to plan your stop before you’re driving past it at 25 miles an hour:
| Trailhead | Approximate Mile Marker |
|---|---|
| Calico Basin (outside loop) | Before entrance station |
| Calico Tanks / Calico I & II | Mile 2-3 |
| Sandstone Quarry | Mile 4 |
| Ice Box Canyon | Mile 5 |
| Pine Creek Canyon | Mile 8 |
| Turtlehead Peak (via Sandstone Quarry lot) | Mile 4 |
Know your trailhead’s mile marker before you start the loop, because there’s no turning around once you’re committed to the one-way road.
Parking at popular trailheads
Lots at Calico Tanks and Pine Creek Canyon fill up fast, sometimes by 9 a.m. on weekends, even with a timed entry reservation limiting overall traffic. If your target lot looks full, keep driving to the next pullout rather than circling, since a second car often leaves within a few minutes. Overflow parking exists at several stops, but it adds a short walk to the actual trailhead, so budget an extra 10 minutes either direction.
Pacing your drive
Don’t treat the Scenic Loop as a straight shot to your trail. Numerous pullouts offer photo stops with views of Turtlehead Peak and the Calico Hills, and stopping for five minutes at two or three of these costs you almost nothing on time. Plan roughly 45 minutes to an hour for the full loop if you’re stopping to look around, longer if you’re hiking multiple trails in one visit. Getting the timing right here sets up everything in your actual hike, so don’t rush the drive just to save fifteen minutes.
Step 5. Hike safely and make the most of your visit
You’ve booked your entry, picked your trail, packed your gear, and found your trailhead. Now the actual hike starts, and how you handle the next few hours determines whether you leave with great photos or a heat headache. Safety habits here matter more than they would on a shaded forest trail back home, since Red Rock Canyon gives you almost no margin for error once you’re deep in a canyon.
Start early and watch the clock
Aim to be on the trail within an hour of the park opening, especially for anything rated moderate or strenuous. Yellow flags this matters: afternoon temperatures on exposed sandstone can run 15 to 20 degrees hotter than the forecast for the Las Vegas valley. Set a turnaround time before you start, based on half your water supply, and stick to it even if the summit feels close.
Set a turnaround time before you leave the car, and treat it as a rule, not a suggestion.
Stay on marked routes
Sandstone erodes fast and cairns get knocked over by wind or careless hikers. If you lose the trail on routes like Turtlehead Peak or Ice Box Canyon, stop and backtrack to the last marker rather than pushing forward hoping to find your way. Flash floods hit canyon trails without warning during monsoon season (July through September), so check the forecast and avoid narrow canyons entirely if storms are predicted anywhere near the area.
Tell someone your plan
Cell service disappears almost immediately once you’re past the parking lot, so leave your trail name and expected return time with someone outside the park before you start. A simple text works fine:
Hiking Calico Tanks at Red Rock Canyon.
Started 8:15am, back by car around 11am.
Parked at Calico Tanks lot, mile marker 2.
Make time to slow down
Don’t treat the hike as a box to check. Pause at overlooks, watch for desert bighorn sheep near Ice Box Canyon, and give yourself a few extra minutes at the summit or turnaround point before heading back. If you’re hiking with a guided tour, your guide will handle pacing and safety calls for you, freeing you up to actually enjoy the canyon instead of managing logistics.
Planning your Red Rock Canyon adventure
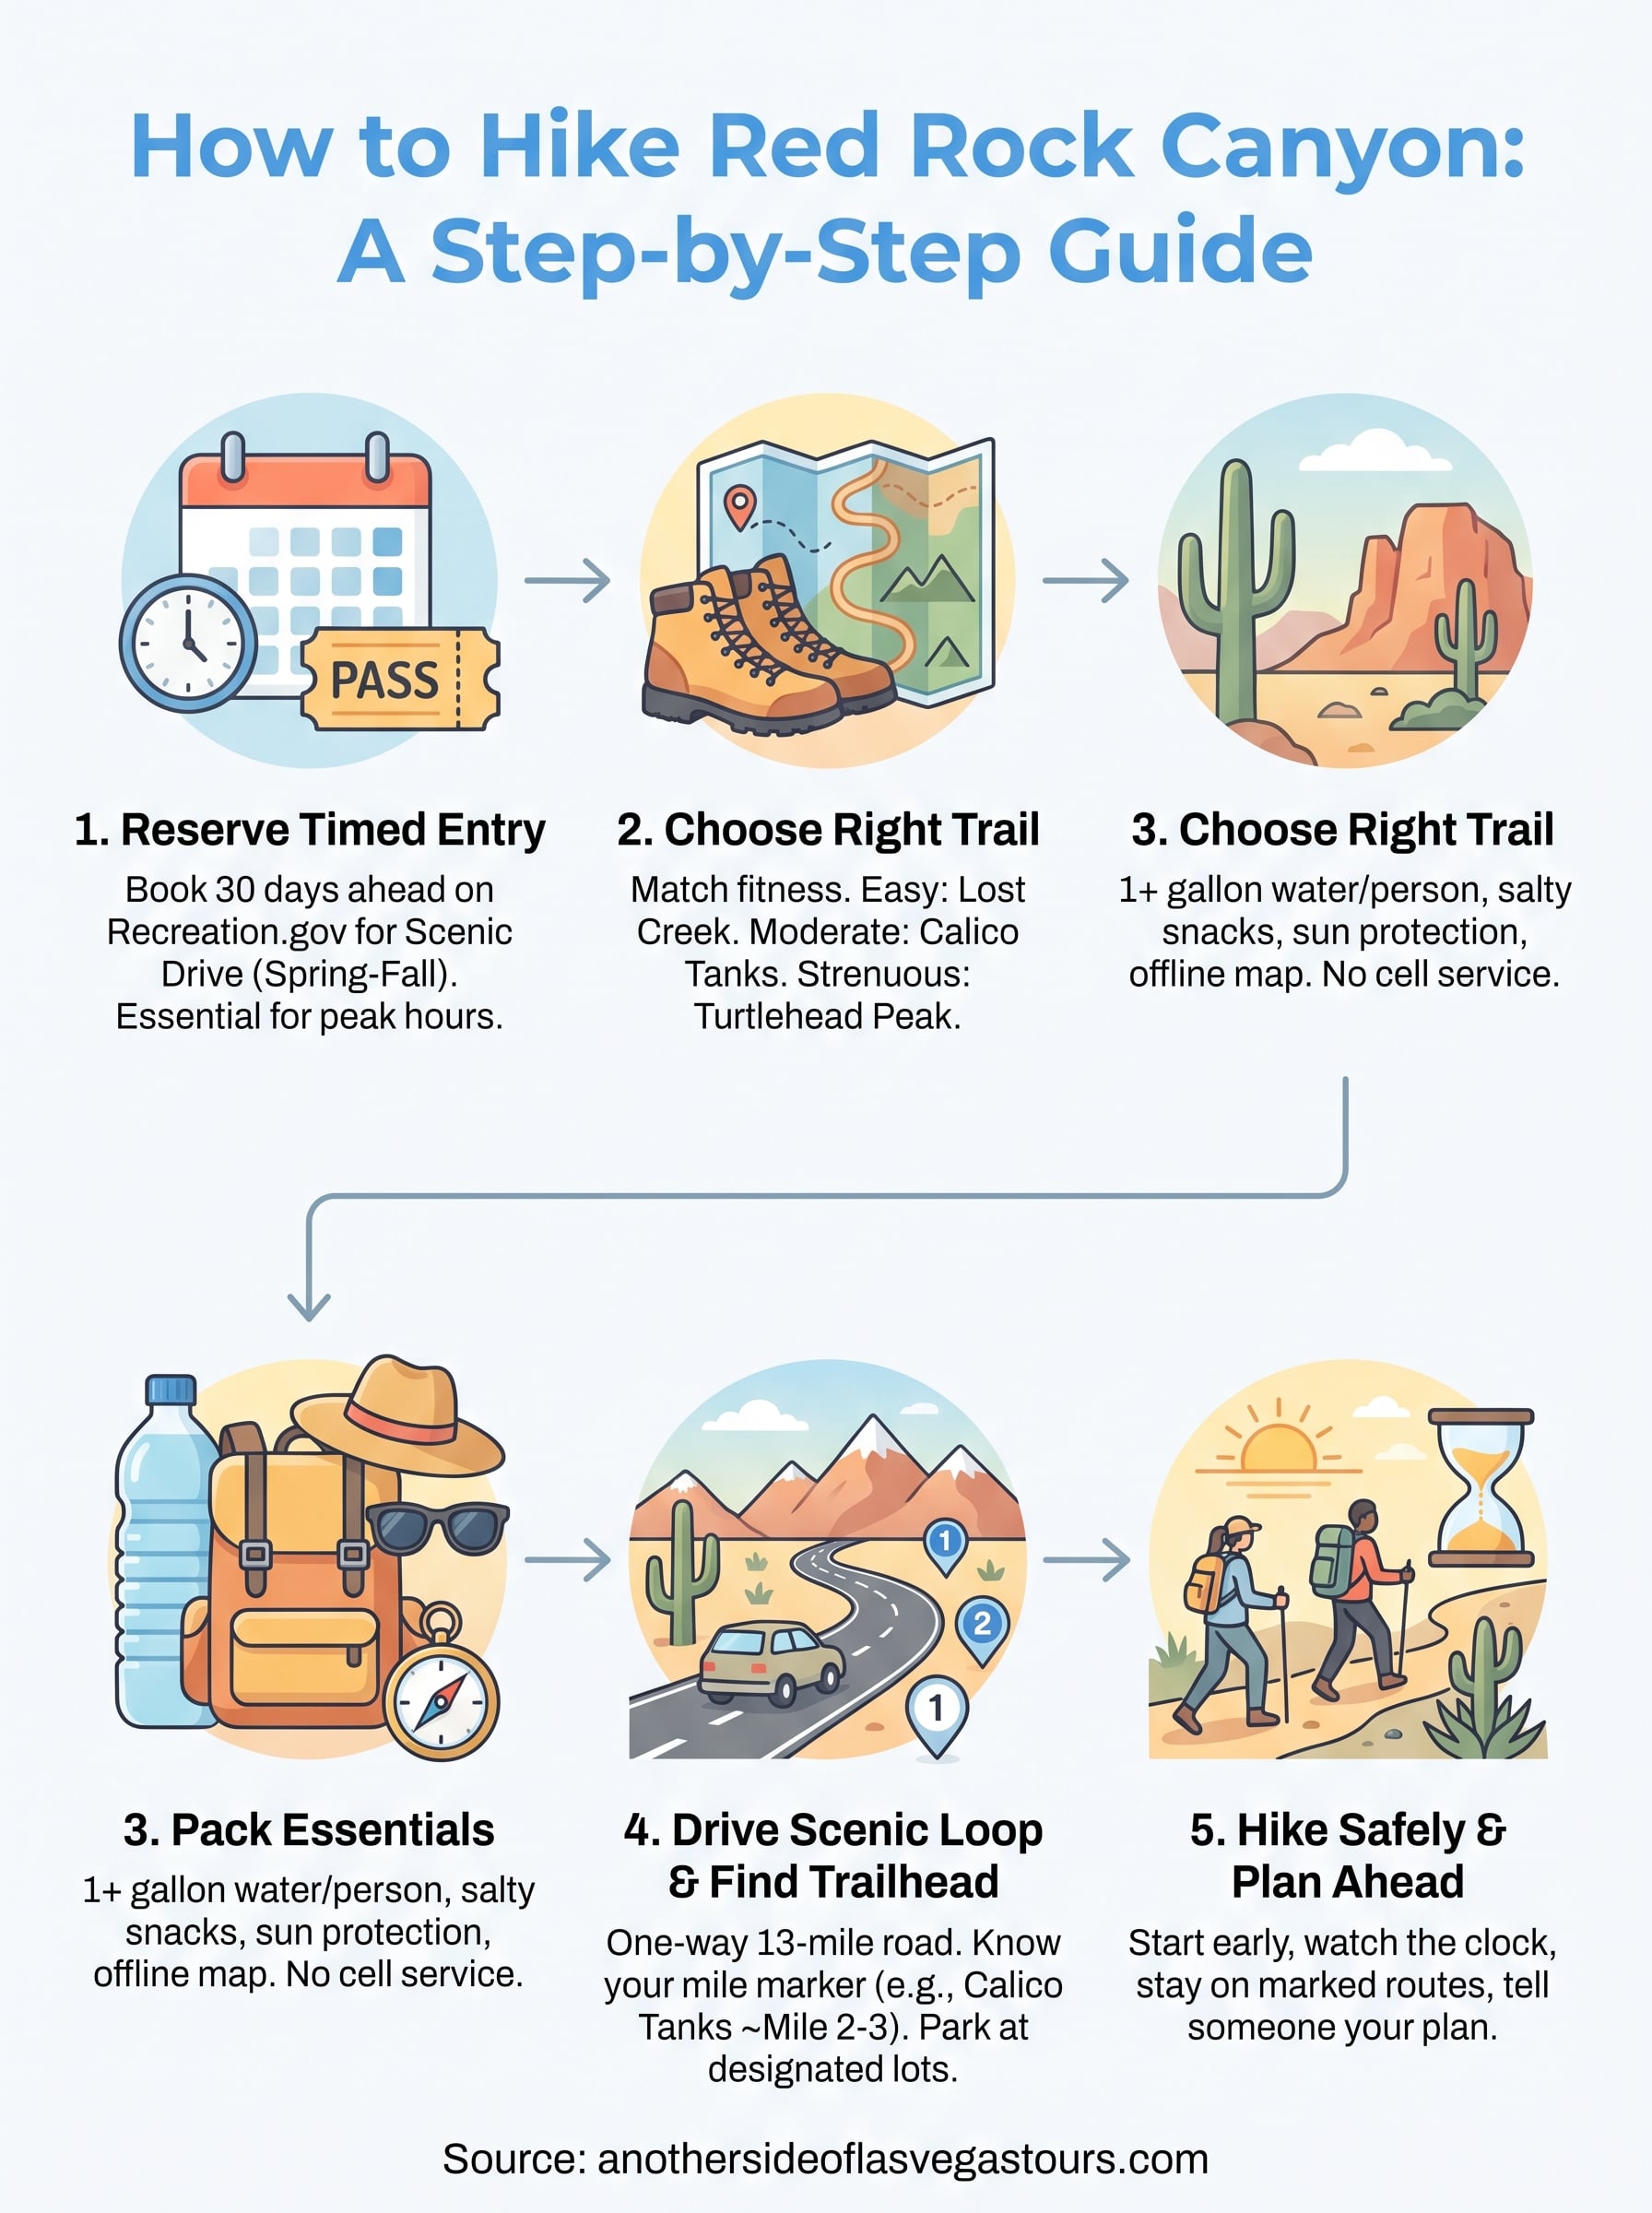
Red Rock Canyon rewards hikers who show up prepared. Book your timed entry early, match your trail to your real fitness level, pack a gallon of water per person, and start before the desert heat sets in. Follow those five steps and you’ll spend your day actually hiking instead of untangling logistics at the entrance gate.
Still, some visitors would rather skip the planning altogether and let someone else handle the reservations, the pacing, and the trail knowledge. If that sounds like you, a guided experience takes the guesswork out completely, whether you want a scenic overview or a full hike with an expert who knows every mile marker on the loop. Our private tours cover Red Rock Canyon along with other nearby landmarks, tailored to your group’s pace and interests, so you get the insider version of the park without the stress of figuring it out solo.